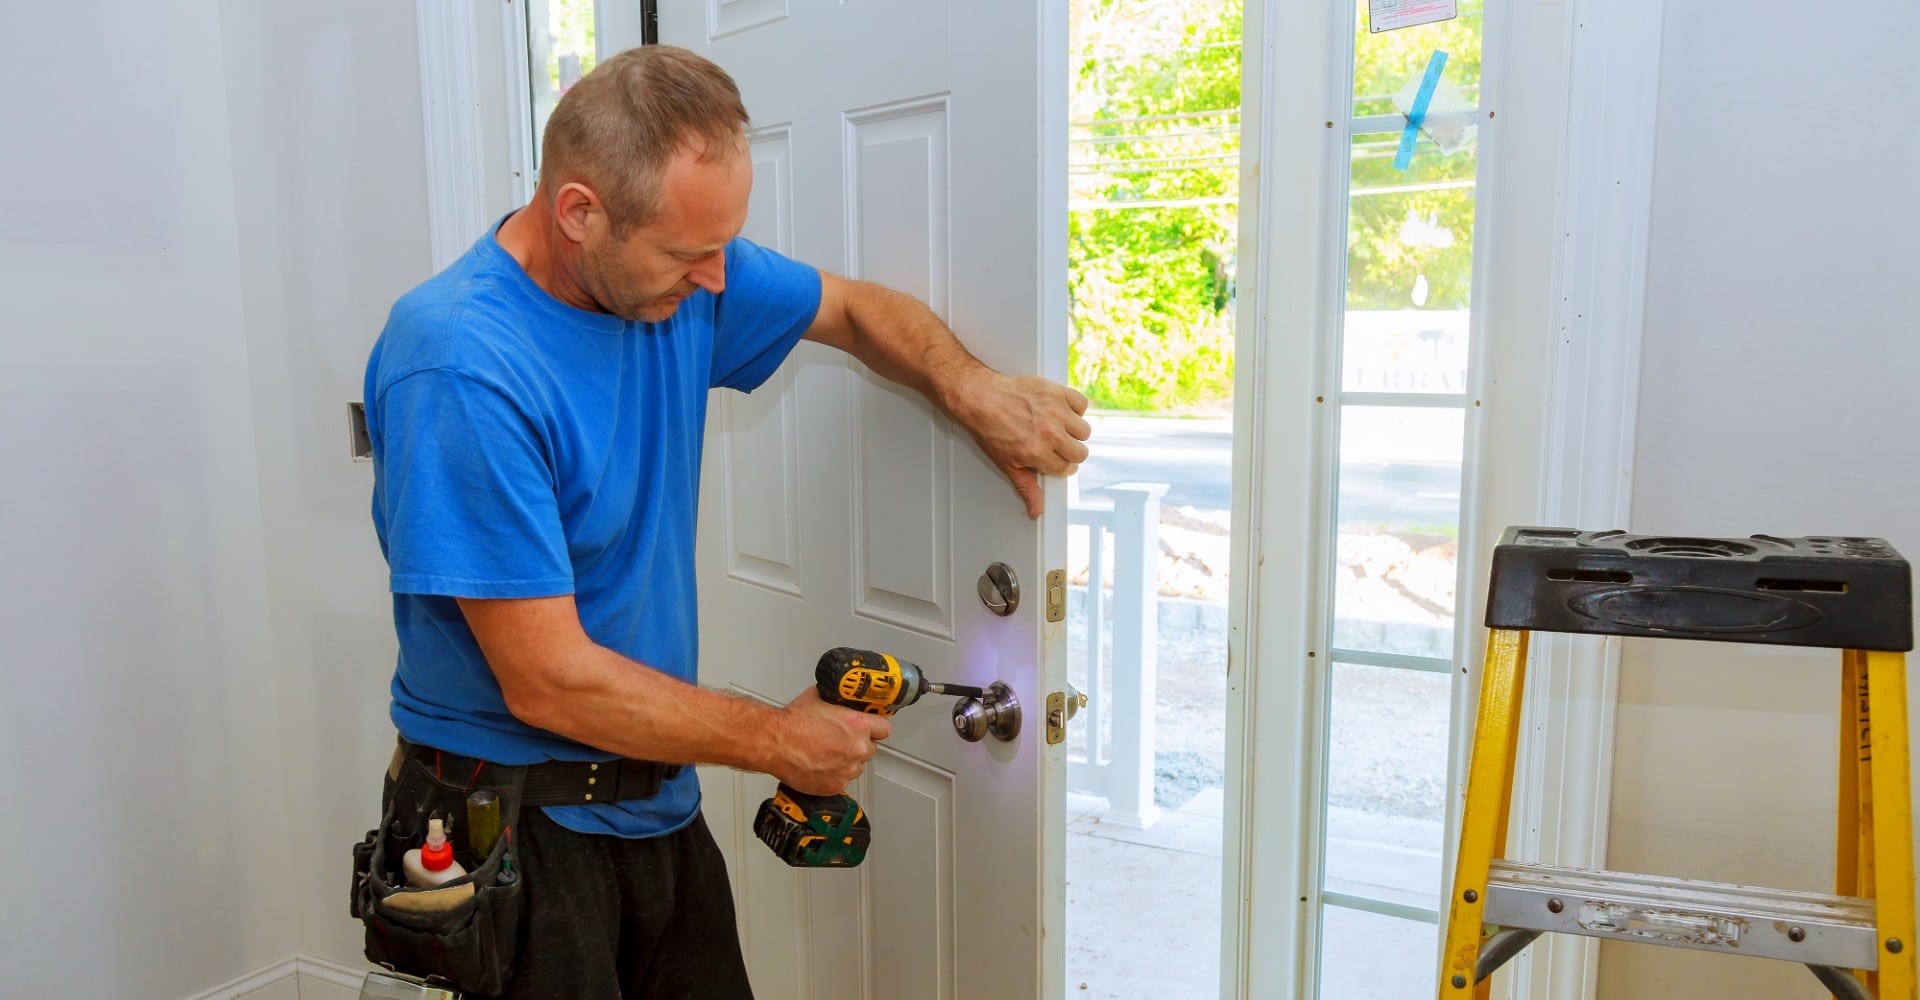
Exterior door installation doesn’t have to be frustrating. Replacing an exterior door is actually a great way to update your home’s curb appeal. If the door was old and worn out, there are also a number of functional benefits. A new door will have stronger windows, a more secure lock, and will provide a better barrier from cold and heat fluctuations.
This simple guide can help you through the steps of installing a new door.
Prepare
If the place where the old door was installed is rough, take the time to smooth out the surface. Make sure there are no screws, nails, or anything else that could interfere with the installation process. Be careful with the new door. Depending on the material, it may be very heavy. Take precautions if this is the case and enlist a second person to help you.
Check
- Leave the retaining brackets in place while you work
- Measure the door opening and the door itself to ensure you have the right size
- Work as a team to lift any heavy materials
- Test out the fit of the door by centering it in the frame
- Use a level to make sure it fits correctly
- Put a shim if needed until the door is centered
- Keep the door jambs square with one another
- Double-check that the door is still centered
Related Content: How to Look for a Qualified Door Contractor?
Trace and Cut
- Trace the outline of the chosen moulding onto the side of your home
- If the siding is metal or vinyl, make extra room for the trim
- Once the outline is complete, remove the door and frame and set it aside
- Cut out the outline for sheathing
- Stay away from the edges so damage isn’t dealt with the side of the home
- Apply a layer of thick paper to the walls and door frame to add a barrier against moisture
- Cut the drip edge so it fits across the door
- Don’t nail down the drip edge
Fit
- Check the fit of the door once again and enlarge the opening if necessary
- Remove the door and apply caulk to the bottom of the door frame and jamb
- Center the door
- Push the moulding hard against the sheathing
- Cut and install shims for the top
- Install the hinges
Install
- Remove the retaining brackets
- Install the anchor screws
- Secure the molding
- Apply more caulk
- Cut down shims and put trim back on
- Install the new lock and knob.
Congratulations! You have installed a brand new exterior door all on your own. Make sure to read through the installation manual that should come with the door you purchased. It will offer more brand specific installation instructions and advice. There are also a number of YouTube videos that can offer visual installation support.
Related Content: Should I Replace My Front Door?
Professional Door Installation
For the reliable exterior door installation, contact a professional. At Total Home Remodeling, we can handle all door installation needs for your home. No job is too big or too small for our team of skilled professionals. Contact us today by phone or online. We’re here to answer all your questions and help you to make the best home improvement choices for your home. We look forward to hearing from you.