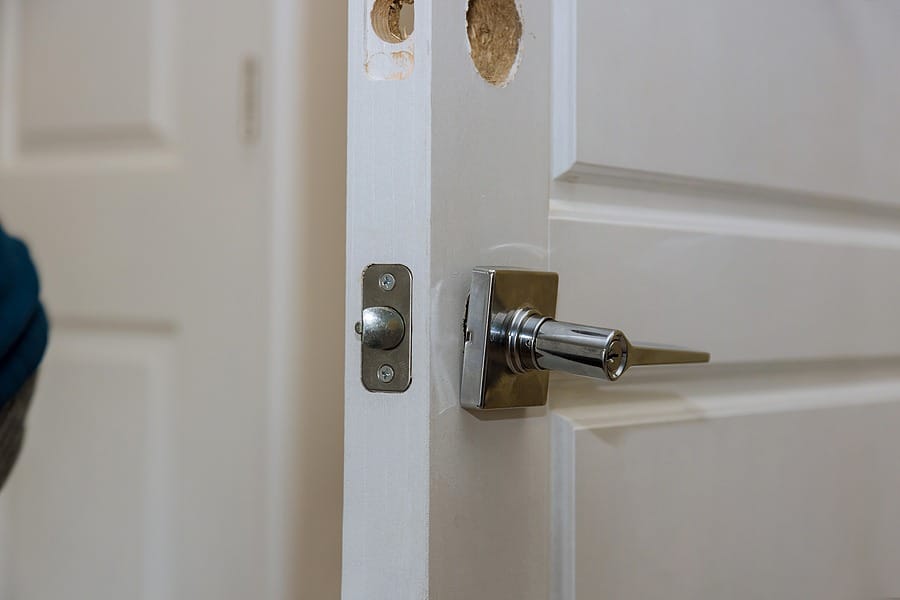
Seasoned DIYers might be able to install a door, but door installation is a job that’s generally best left to a professional. This is because there are certain techniques to learn and you’re unlikely to get it right the first time. The following list is a comprehensive guide to door installation, so you have a better idea of the process.
1) Gather Materials
Make sure your toolbox is stocked with the following:
- Measuring tape
- Level
- Shims
- Planer
- Hammer
- Saw
- Safety glasses
- Protective gloves
- Router or chisel
- Nail gun or hammer and nails
2) Take Stock
Decide whether you prefer a pre-hung door; where the door is pre attached to the jamb, or a door slab; which is just the door with no hardware. If your existing door frame is in good condition and you’d like to reuse it, a slab is a great option. This is also a good way to save money if you have a lot of doors to replace. Alternatively, a pre-hung door allows you to replace the entire door and frame (and guarantees that the door will fit snug inside of the frame).
3) Remove Your Door
Before you remove your door, measure your current door width and height. Measure jamb to jamb for the width, and bottom sill to top rail for the height. Then, remove the door. If you chose a pre-hung door, remove both the door and frame, you’ll have to also remove the molding.
4) Measurements
Rough opening: Measure the height and width of the opening. This is your rough opening measurement. When ordering your door, you’ll want to choose the size of door that’s just larger than the opening. For instance if the opening is 31.5”, you’ll order a 32” door.
Opening thickness: Measure the door thickness in your existing frame. Door thickness varies from 13/8” for interior doors to 13/4 for exterior facing doors.
5) Choose Your Door
With your measurements on hand and your tools ready, you have the information you need to pick out your new door. You have executive control over design, material, density, windows, cutouts, panels… Each element gives the entrance to any given room an enticing aesthetic personality.
6) Test Fit
For a pre-hung door, lift the door and frame into the rough opening for a test fit. Is the door squared, centered, and plumb? Use a level to make sure. If necessary, insert shims in the lower side jamb of the door until it is level. If working with a door slab, the door you selected may be too tall for the frame. Use the existing door to trace the correct size onto the slab.
7) Cut
If installing a door slab, use a planer or belt sander to trim it to size. Always wear safety goggles and gloves when operating equipment. Test fit by placing shims under the door and placing the slab into the existing jamb.
8) Complete Door Installation
With your pre-hung door shimmed, level, and plumb, use a nail gun to secure it. Reattach the door moulding to cover the gap between the door frame and wall. With a door slab, use the old door to mark where the hinges should match up. Use a router or chisel to cut out the hinges, then secure the hinges to the frame with the included hardware. Open and close the door, checking that it swings correctly. For both prehung and slabs, always make sure to oil the hinges to prevent squeaking and deterioration.
9) Step Back and Enjoy Your Handy Work
You’ve earned it!
Professional Door Installation
If you have any door installation questions or would like to learn more about the services we offer, drop us a line at Total Home Remodeling.


